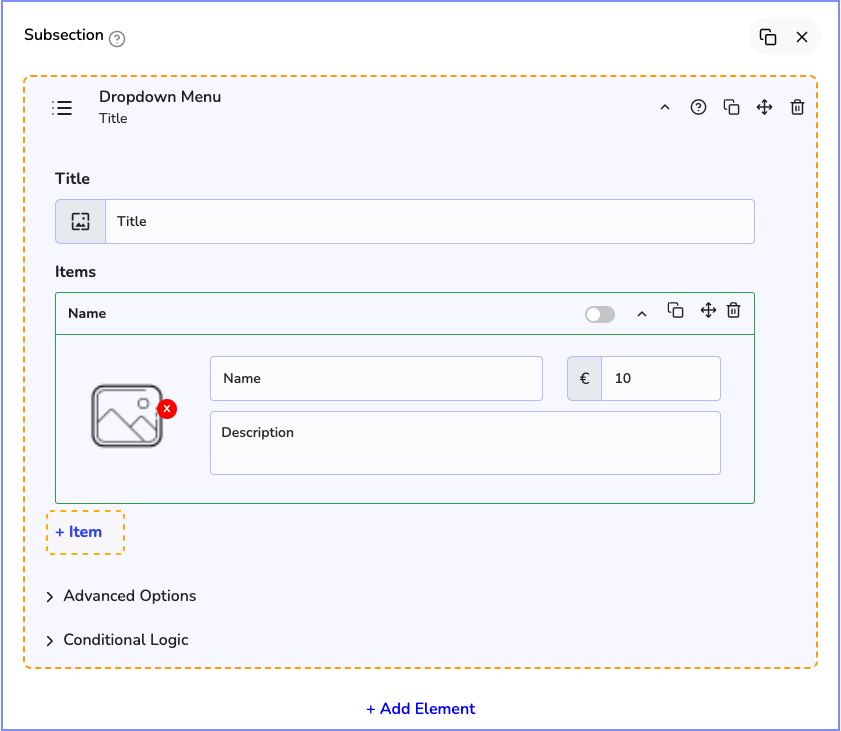
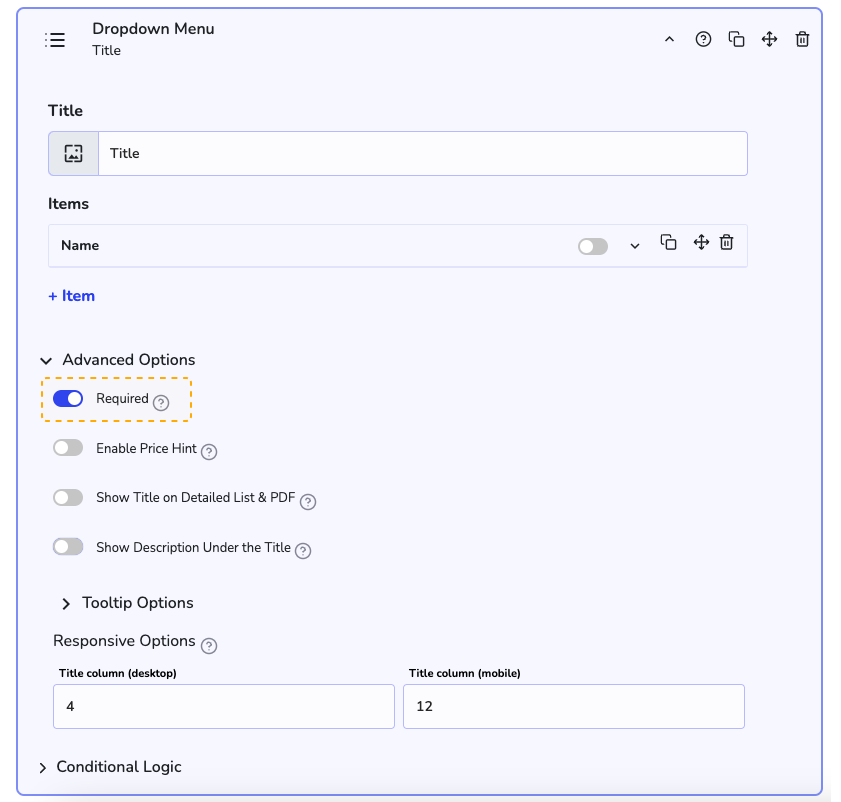
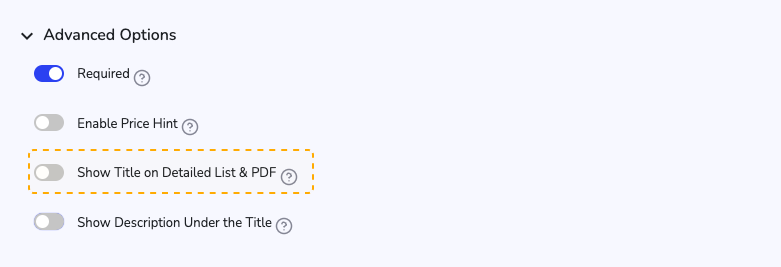
Dropdown Menu
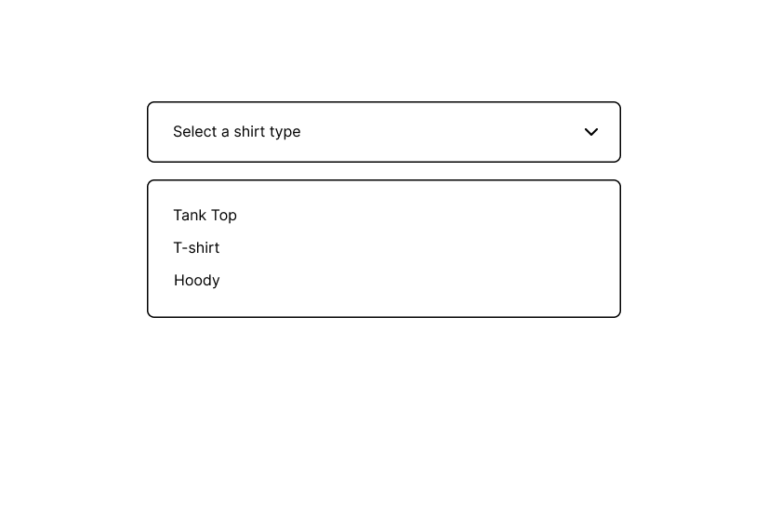
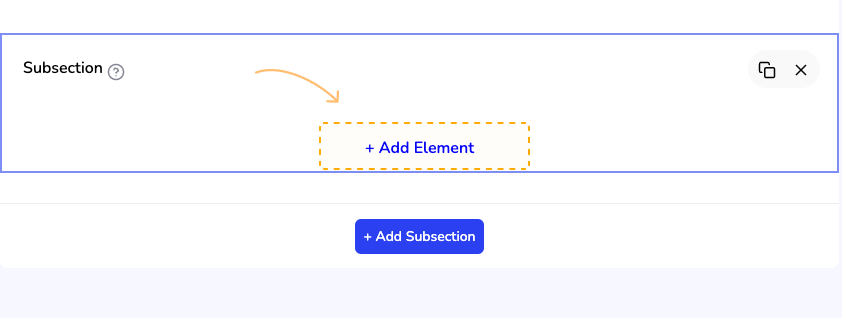
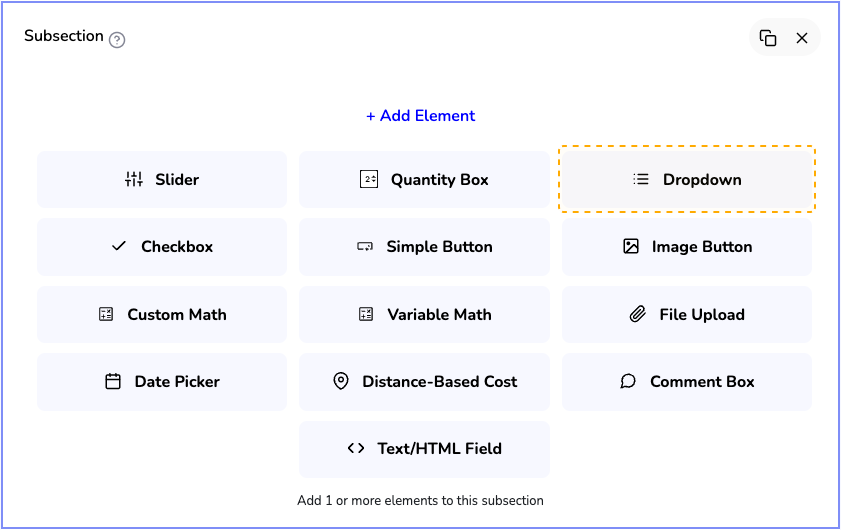
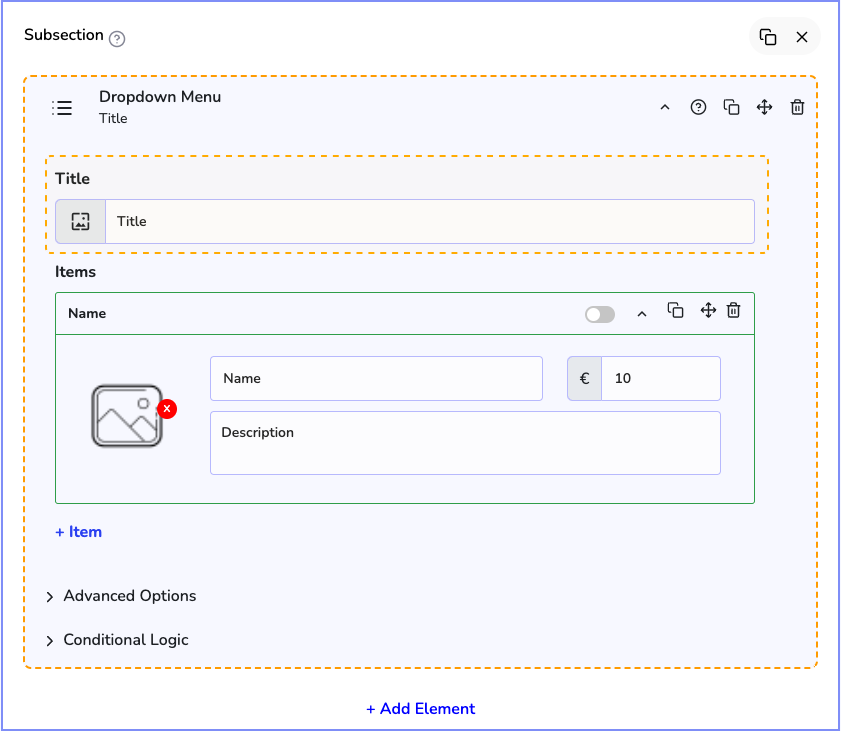
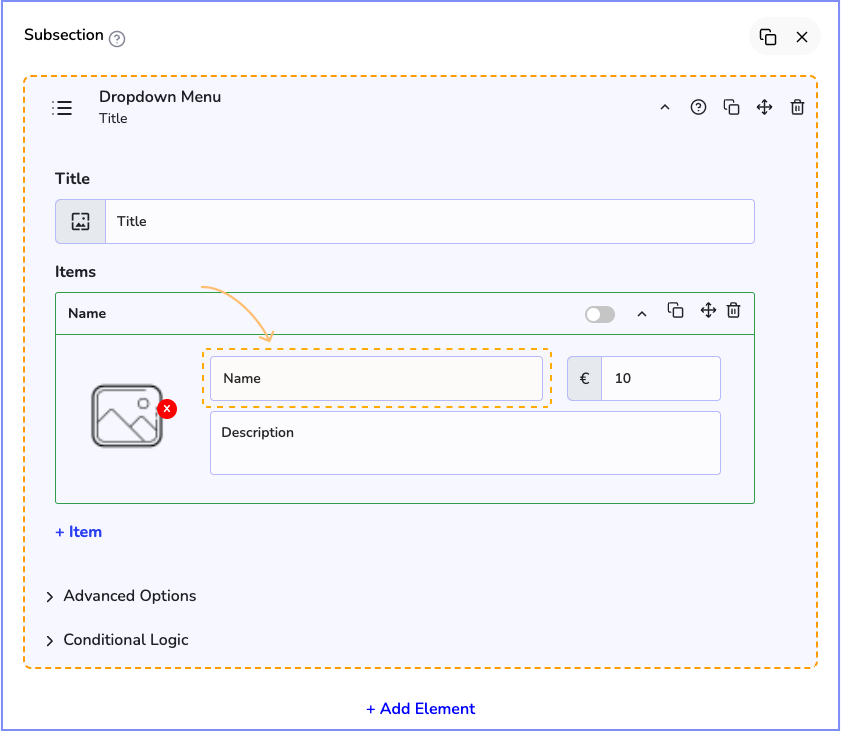
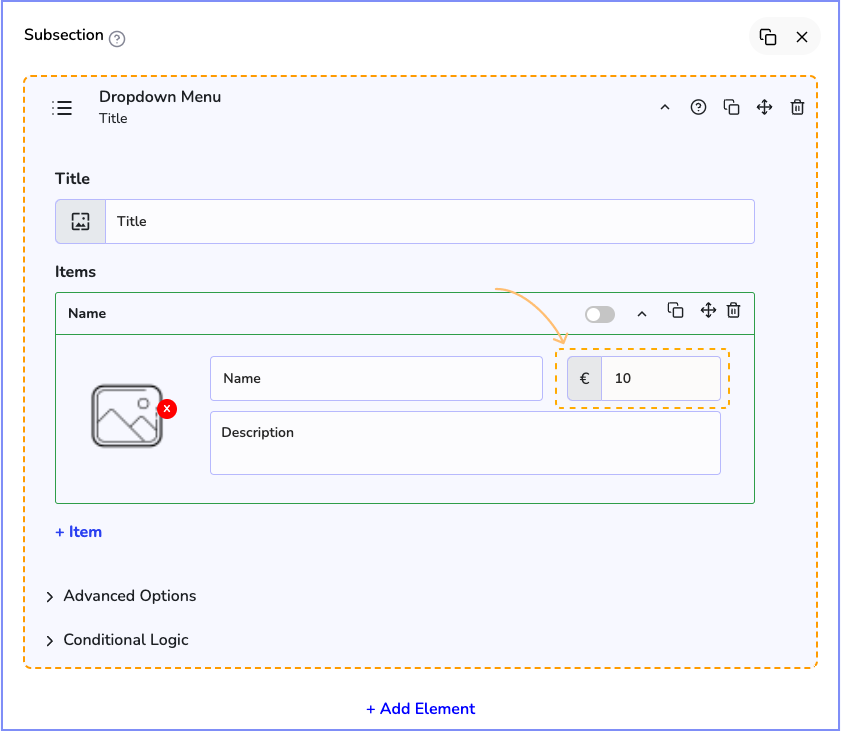
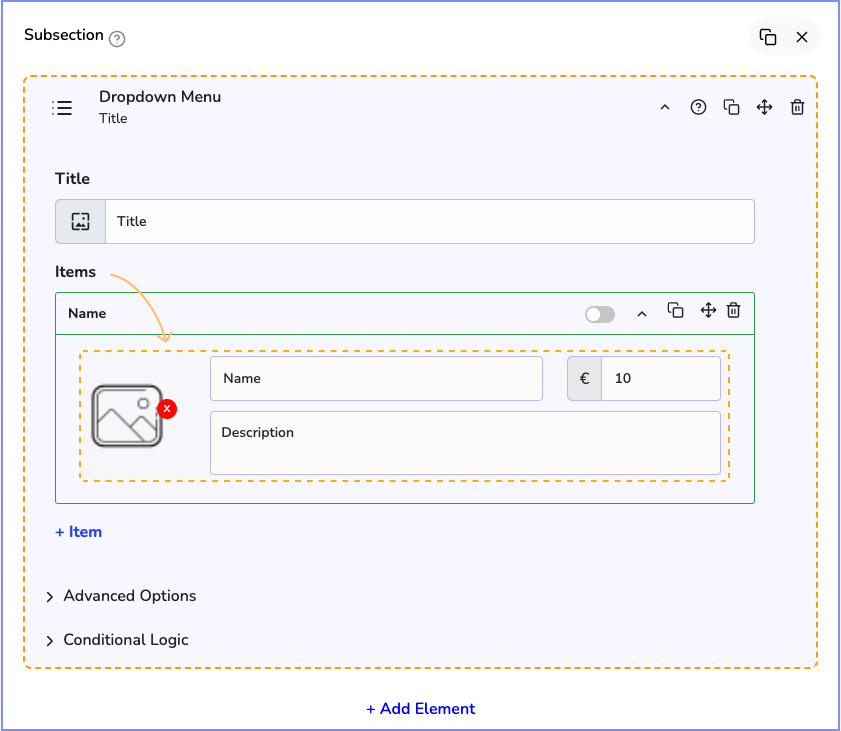
You can insert many options into a single drop with the Dropdown element. The dropdown menu is great to use when you want to force a user to select only one option in any given category.
Table of Contents
Settings & Options
Benefits & Features
Space-saving
Condenses multiple options into a compact, expandable menu.
User-friendly
Familiar interface that most users understand intuitively.
Organized
Groups related options together for easy navigation.
Streamlined
Simplifies the user interface by hiding options until needed.
Customizable
Can be styled to match your website or app's design.
Mobile-friendly
Works well on smaller screens and touch interfaces.
What Are Some Use Cases?
1.
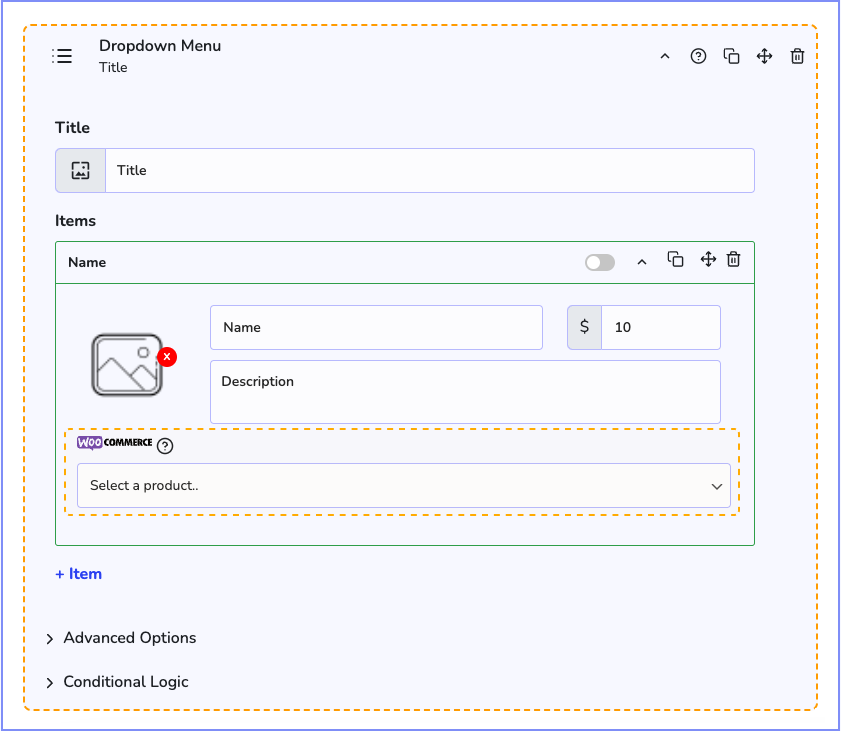
You may want your customers to select a product from a list within the same category. For example: Shirt Type, Room Size, etc.
2.
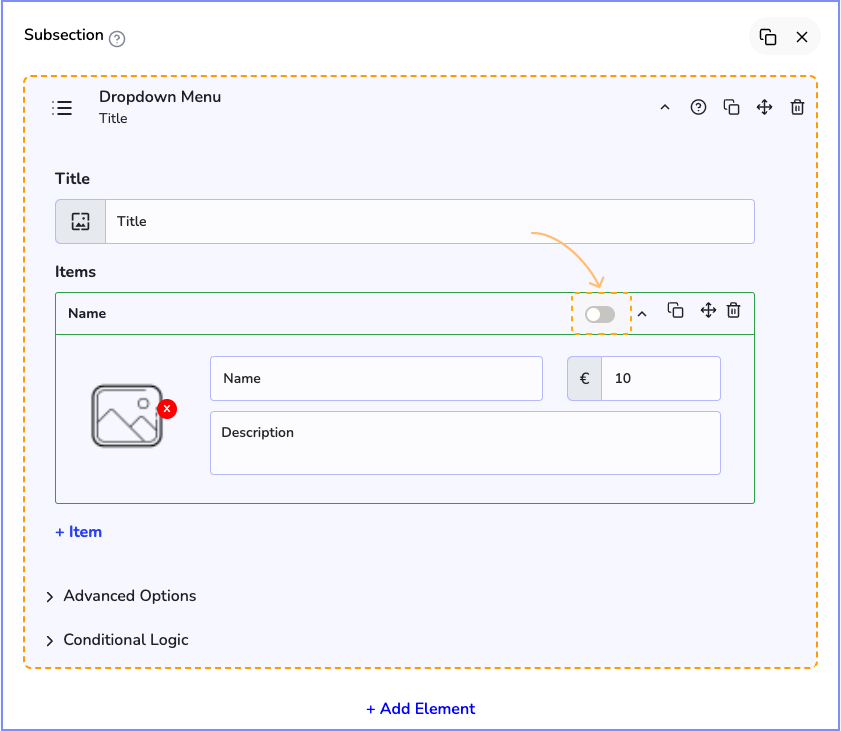
Each product in the dropdown may have a different price.
3.
Use it to ask a question to your customer. For example, What shipping method do you prefer?


